The Droste effect is a special plugin for Photoshop. There may also be plugins for free programs such as Gimp, however since I used Photoshop to make mine, so this tutorial will only show you the way to do it using this method. Obviously, Photoshop CS4 or CS5 is required to use this tutorial. You will also need the free Adobe Pixel Bender Plug-in and the free Droste Effect add-on for pixel bender. Install the pixel bender plug-in as usual, and just unzip the Droste effect add-on .pbk file into your Program Files\Adobe\Adobe Photoshop CS5\Pixel Bender Files\ folder (for 64bit windows use Program Files\Adobe\Adobe Photoshop CS5 (64 bit)\Pixel Bender Files\).
Now that we have everything ready to go to edit your file, what we need now is a self portrait.
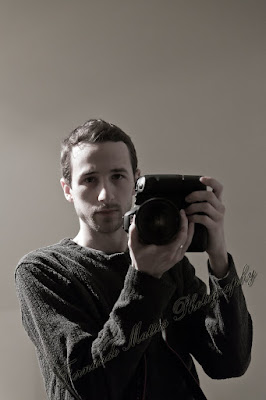
Great! Now that we have a shot we want to use, we load it up in Photoshop and the first thing we do is make a perfect square (hold shift) over the area we would like to use with the marquee tool, and copy the selection (ctrl-c).
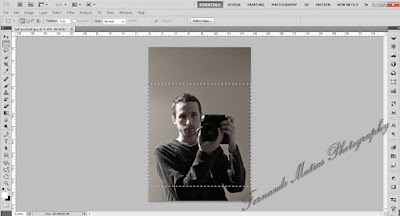
We then create a new transparent background document, using the exact dimensions of the squared selection. In my case those values were 3744 x 3744px at 240dpi.
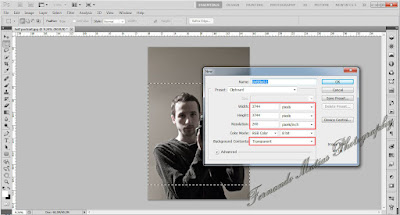
We then paste our copied selection into our new document (ctrl-p), and in this case I wanted the Droste effect to come from the inside portion of my camera lens so using the circular marquee tool I cut out the inside of my lens revealing the transparent background.
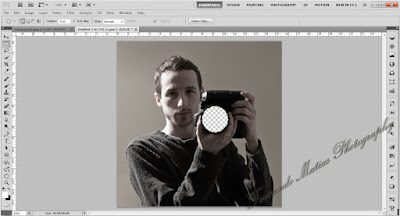
We can now go ahead and load up the Droste plugin filter (Filter/Pixel Bender/Pixel Bender Gallery). After selecting Droste from the drop down menu, the first thing we have to do is set the size to the same dimensions as our file (3744x3744).
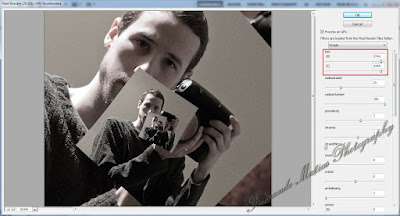
Since we have our transparent section as the inside of our lens, we want to tell the filter that we only have transparency inside. We therefore remove the check mark from the transparentOutside radio. Your photo will get all strange, but don't worry we'll fix that.
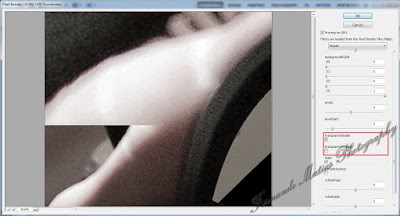
Since our photo is all strange and we cannot see what we are doing, the next adjustment I made was to increase the radiusInside until the photo was somewhat visible. This is just so that you can see what you are doing, and we'll have to modify this again in a few steps.
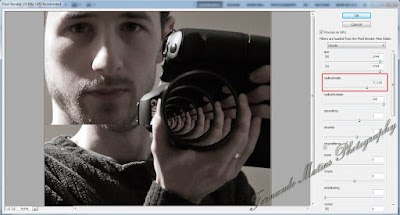
I then adjust the centerShift until my transparent section is in the middle of my shot. I find this makes it easier to get the effect I want, which is a tunneling type effect.
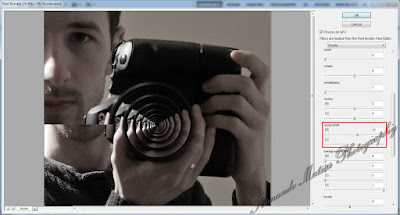
Now that we have our cut out section in the middle of our shot, we then go back to the radiusInside adjustment and actually bring it way back until we get the effect we are going for.
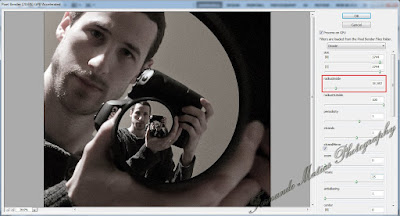
I did not like my face being on an angle like that in the foreground, so I then adjusted the rotation and zoom so that I could get just half of my face directly on the left side.
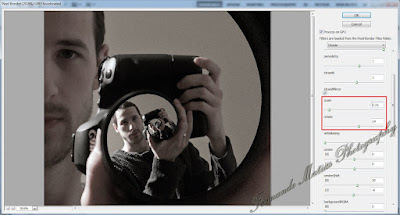
Now that I was satisfied with the effect, it's just a simple matter of clicking OK, flattening the layers, and saving the file. There we have it, a Self Portrait Droste Style!
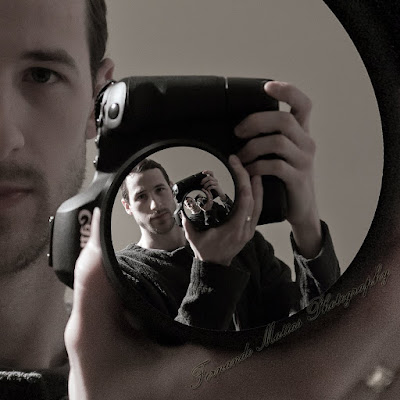
This is just one of the many many things this fine add-on can do, and by playing around with the sliders you can get some amazing effects. It is also very useful if you like to make fractals! Just play with each setting individually and you will quickly learn what they do. Enjoy!
Thanks!
ReplyDeleteThis helped a lot, I was completely confused with all the sliders at first, but I found this on Google and could create my own Droste-picture for my photgraphy page:
https://www.facebook.com/Sine.Photography